Pages

Showing posts with label Ridz's Creation. Show all posts

Thursday, June 6, 2013

Weekly Inspiration By Ridz
 
 
Hi everyone
 
I'm sure you remember that Father's Day is just around the corner.  This accordion style album is so simple to do and yet so versatile.  It can work as a card, a simple journal, or fill it up with pictures and turn it into a mini album. If you use a thicker cardstock (or just layer more papers), you'll make it really sturdy enough to stand like a frame for his desk. 


I hope this will inspire you to give a handmade gift to that special man in your life. 


Monday, April 22, 2013

Weekly Inspiration By Ridz
 
Mothers Day Mini Album
 
Wikipedia says that “Mother's Day is a celebration honoring mothers and motherhood, maternal bonds, and the influence of mothers in society.”  This year, I’m honoring our dearly departed Mom by making a mini album in her memory for my sisters.
 
While it is sad for us to lose someone so dear, I must say that making this project has brought many many happy memories and I’m really glad that I ventured into it. 
 
I’ve used a variety of products from Glitz Designs from the Happy Travel and French Kiss line.  There’s the 6x6 designer paper, chipboard album, cardstock stickers, peek-a-boo transparencies and die cuts.  Lots of yummy goodness here!
 
It’s very simple to make a mini album when you have all these supplies ready.  Do check out what other complementing products Krafer’s Paradise have for you.
I’ve used the papers to cover the blank chipboards that come with the album.  The die cuts that came in this pack were so pretty so I’ve also added pages by sticking them side by side to make a bigger page. 
To complete the project just add flowers, adages, a poem and you’ll have a simple yet meaningful album to share with your loved ones.  I’m sure my sisters will be pleased to receive this album.


I hope this will inspire you to make projects you can share with the moms in your lives.


Sunday, March 10, 2013

Weekly Inspiration By Ridz
 
He’s proposed and you’ve said yes and now it’s a whirlwind of planning.  What could be important (other than THE dress) than to ask your best girlfriends to be your bridesmaids.  This week I’d like to share with you a Will-You-Be-My-Bridesmaid gift.
It’s a simple box that I made but with a slight twist :
First you present her with this question.  (I’ve purposefully made the tag bigger than the box to make sure the question is not lost)
Then she opens up the box and finds a box of Hershey’s Kisses in two flavours.
Then she’ll piece the “puzzle” under the Kisses to the question “Will you be please be my bridesmaid?”  Of which I’m sure she’ll say yes because she’s been asked in such a sweet and cute way!
After that both of you can play tic-tac-toe on the box!
 
You can vary the size of the box by changing some of the dimensions.  The box on the right is 4x2.5 inch and is 3 inches high.
Hope you enjoyed this project and that it will give you other ideas on what you can do with the humble handmade box.
The papers I’ve used are from the Webster Pages Everyday Poetry collection.  Check them out at Krafers Paradise soon!


Wednesday, January 16, 2013


Weekly Inspiration By Ridz
Hi Everyone


Chinese New Year is just around the corner. I'm sure some of you have already started preparing for the festivities.

I've found some KCK papers which will be really nice for the CNY theme.
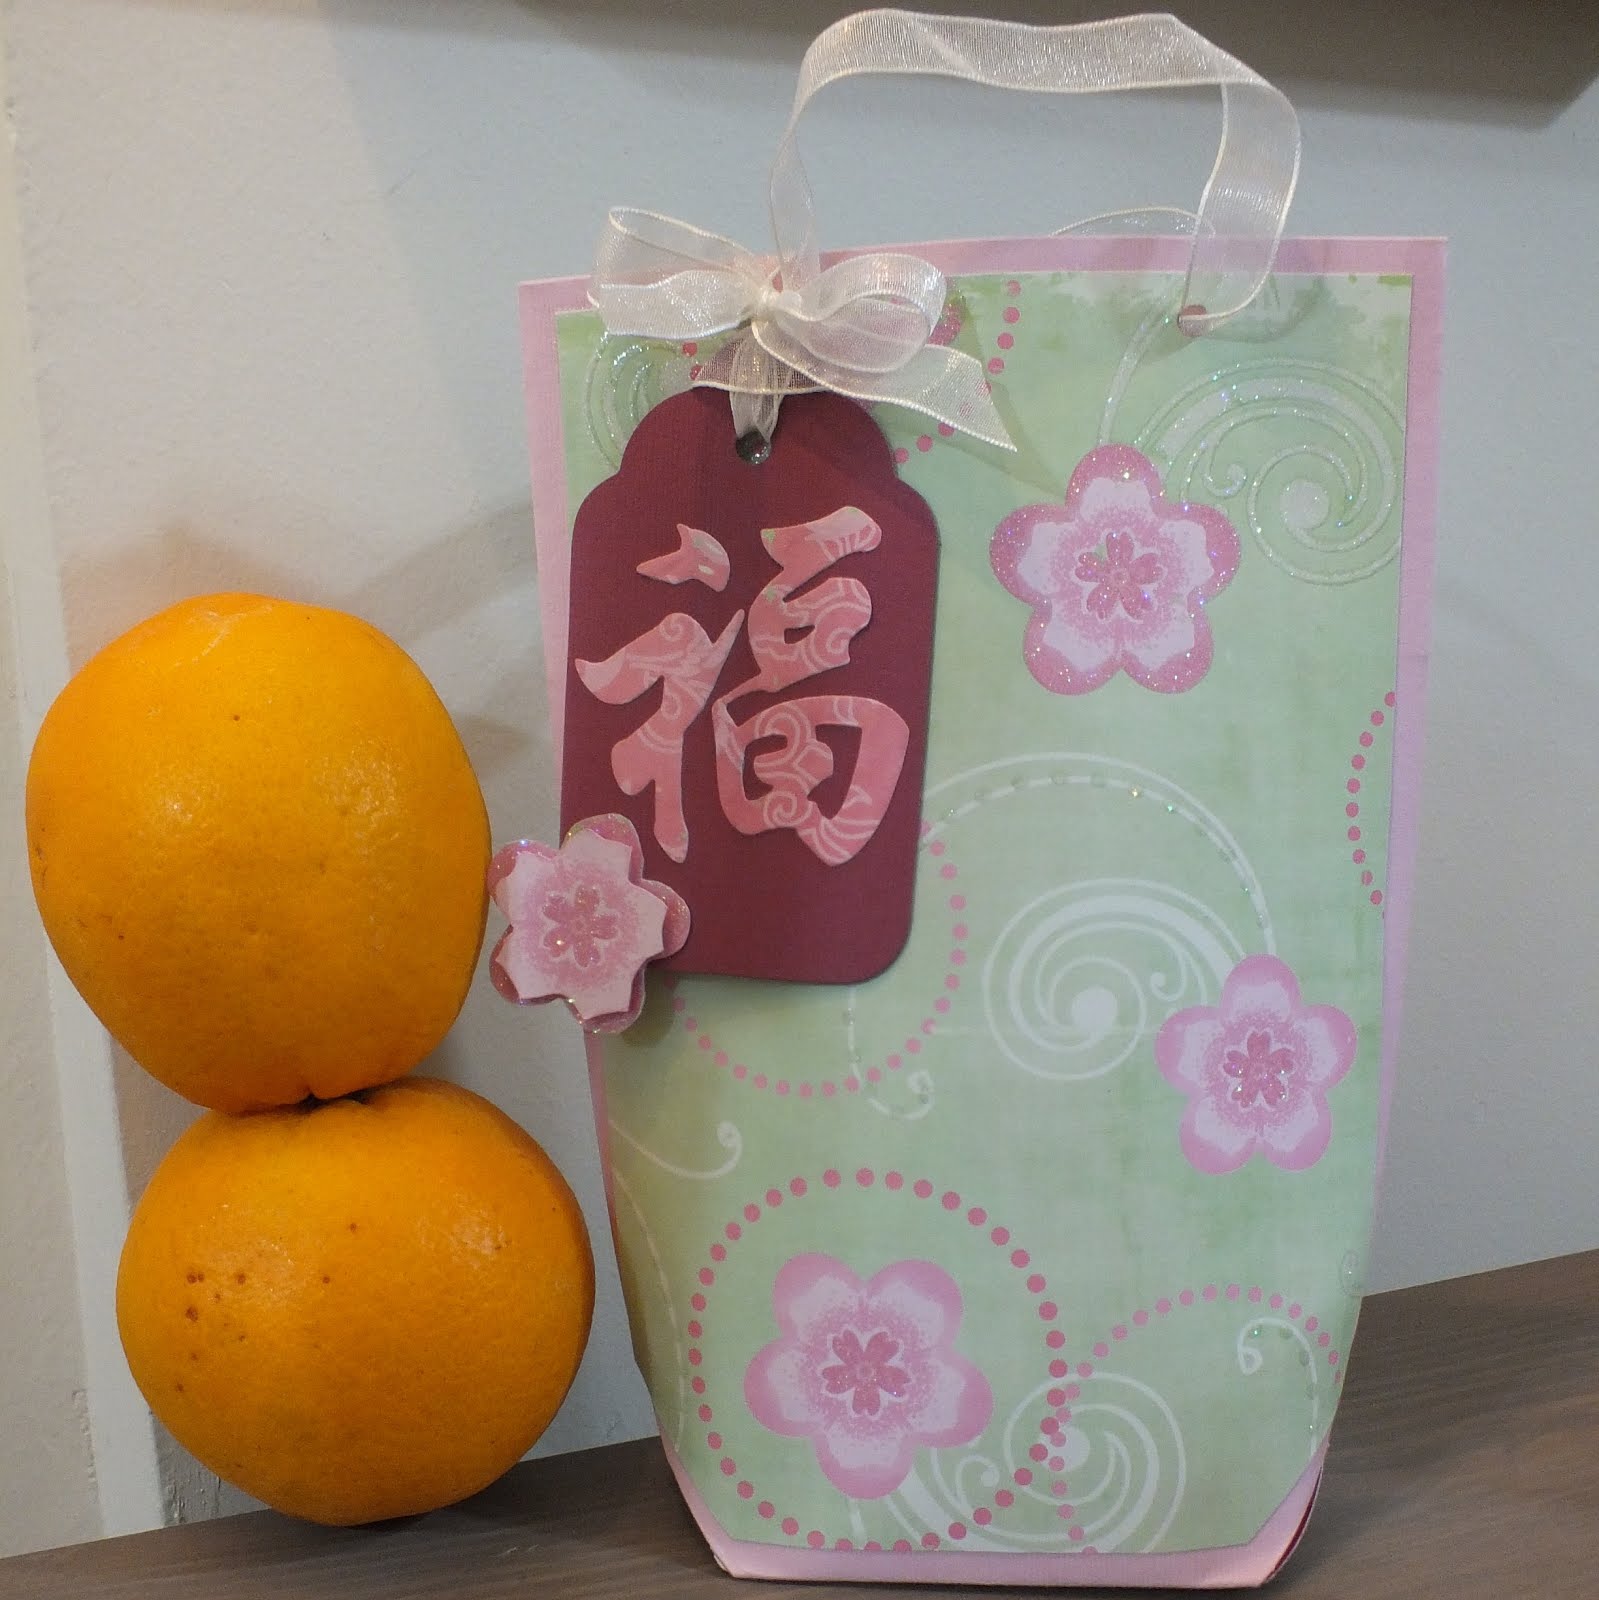
I'd like to share this cute project with you; a little carrier bag for your oranges when you go visiting.
 
You need only 1 piece of 12x12" paper and ribbon or twine for the handle. Pattern paper and o ther embellishments as desired.
 
1.  Score 2.5" at the top and glue it down. This will reinforce the holes       you'll be punching for the handles. 2.  Score both ends at 3 1/4 ". Fold them on top of each other and use a strong double-sided tape to stick the both ends. 3.  Score the base at 2.5".  Fold them up on one side and open up the base and fold down the edges. (Like gift-wrapping a box)4.  Fold down the top part to meet in the middle to form the base.
Embellish with pattern paper then punch holes for the handles. You can use ribbon or twine. This cute bag will hold two oranges on top of each other. 
I've also made a couple of greeting cards with these KCK papers and their "Fortune" die cut works great for these cards.

 
Here's wishing everyone a very happy and prosperous year of the Snake.

Wednesday, December 19, 2012

Inspiration By Ridz
 
Christmas Pyramid
  
It’s that time of the year again! I’m sure we are all excited about the coming holidays.   I have this cute pyramid project that reminded me of a Christmas tree to share with you.   Here I’ll show you how to do this really simple project. 

I’ve chosen to use Basic Grey’s Sweet Thread collection and KCK’s textured cardstock.  There are a lot of greens, oranges, pinks  in this collections which I find is really festive, just like Christmas.  KCK’s textured cardstock pack has 40 colours for you to match with any paper collection that you have!  Ok let’s get started!
      First we need to make a triangle template.  Here I have used 5” as the base and 10” as the height.  Mark the center at 2.5” at the top and join the base points to the top center point and you’ve made yourself your triangle template.
Cut out 3 of these triangles.
Use your washi tape to join the edges together till you form a pyramid.
  I’ve cut my photos to sizes that will fit on the pyramid, 2x3 and 1.5x2 inches.  I’m using the plain cardstock from KCK to mat my photos.
 
 To complete the pyramid, I decided to add a little Christmas tree at the top.  To make this you need a

1)       3” circle and score/fold them into 8 equal sections
2)       Using the valley and mountain fold, you’ll get a shape like in picture 2
3)       At each edge, I’ve marked 2 small lines for you to snip,
4)       After snipping the small edge, fold it down. 
The end result is this. Glue it to the top of your pyramid.

 Let’s look at the completed project again.  I’ve embellish this with the stickers that comes together in the Basic Grey, Sweet Threads , paper pack.

Here’s wishing everyone a very Merry Christmas and a Happy New Year!!


Saturday, November 17, 2012

Weekly Inspiration By Ridz
 
Exploding Box Stationery Set
Hi Everyone
This week I’d like to share with you an exploding box project with a slight twist to it. 
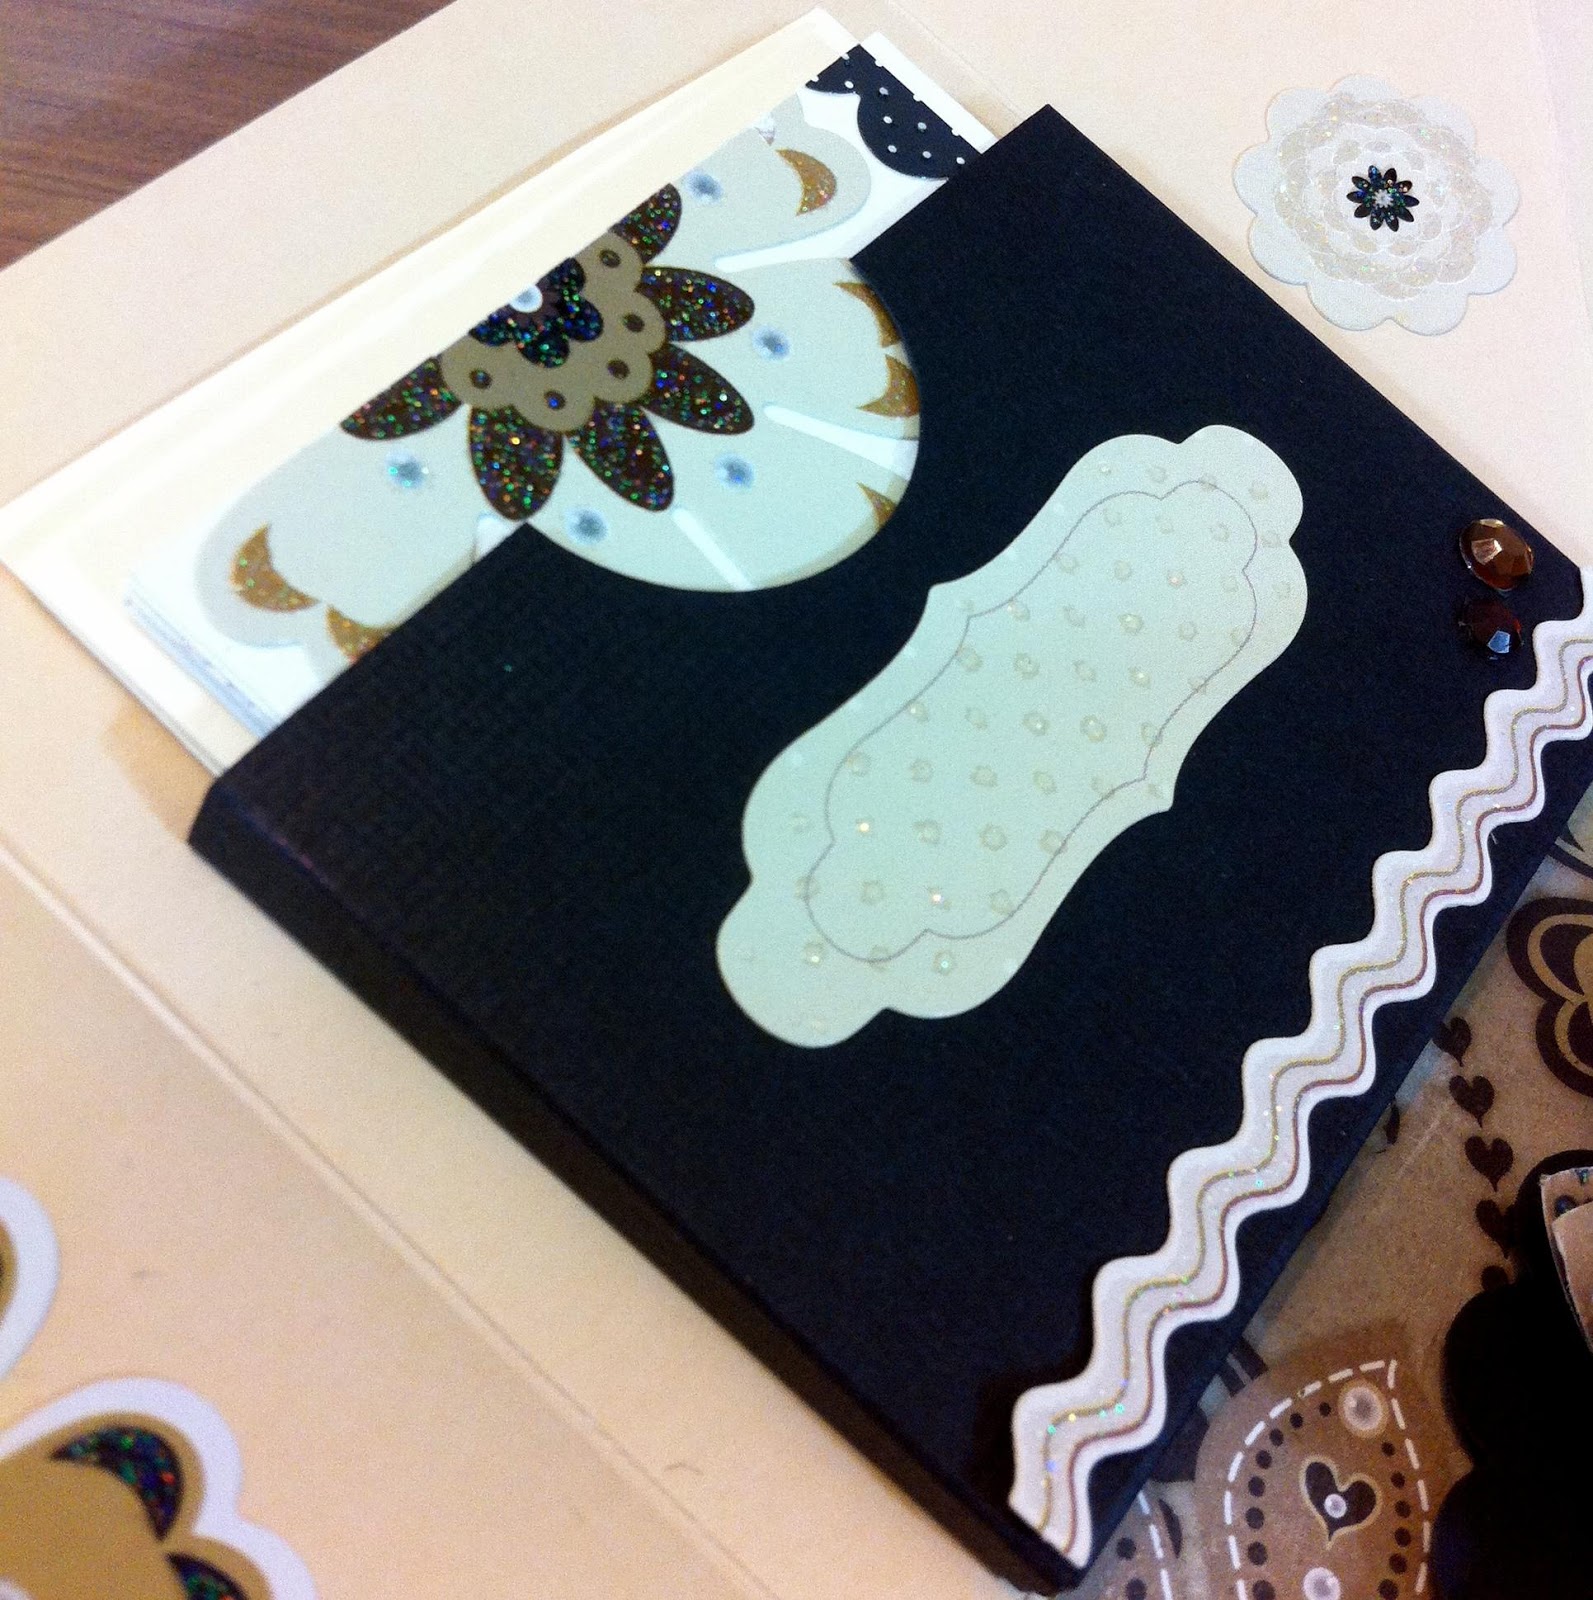
The box when closed looks like any regular boxes.  It measures about 4 inches all around.  Remove the lid and the box will “explode” to show off its contents.  In this exploding box, I’ve turned it into a stationery set.  Simply by placing pockets inside it you can put quite a substantial amount of stationery.  In here it houses 6 notecards, 6 mini envelopes, 6 tags and a little notebook.  I’ve put a flower in the center of the box to add a little decoration. 
I hope this has inspired you to create a stationery set of your own.  Do drop by “K”rafers’ Paradise to have a closer look at this and the other projects.

  The box closed up


Remove the lid and the box will “explode” to show off its contents.


Closer look at the mini notebook         
 
Closer look at the tags


Closer look at the notecards with envelopes


The entire stationery set


Products used :

KCK glittered and cardstock papers
KCK cardstock Stickers
KCK foam stickers for dimesion
Glossy accents glue


Friday, October 19, 2012

Weekly Inspiration By Ridz
 
HOME DÉCOR PROJECT
I personally love papercrafting because I love making personlised gifts.  This week I’d like to share with you a simple home décor project that will make a lovely gift.  Sara is my grand-niece whom I simply adore and this will look really cute in her room. 
This versatile design allows it to be displayed on a table top or hung up . This project is really simple to make;
1.                  Materials you need are; letters to spell the name/word, cardboard as base for each letter (cereal box works well), plain and/or patterned paper, embellishments like flowers or buttons etc, eyelets, ribbon or binding rings.  You can get all these materials at “K”rafers Paradise.
2.                  I’ve used die cut letters for this project. I’ve added diamond stickles to the surface to give it extra shimmer. You can also use chipboard stickers or stamps.
3.                  Each letter will be represented by one card.  Cut the cardboard to the desired size to make each card.  This depends on the size of your letters.  Here I’ve cut mine to 2.5 x 4 inches.  General rule I’d use is around two to three times the size of the letters as I like to use layers of paper to decorate.  You can experiment and see what size you like.
4.                  Cover the cardboard with paper (especially if you are using cereal boxes). 
5.                  Decorate each card with patterned paper and embellish with flowers, pearls etc.  Lastly place the letters in the middle of the cards.
6.                  Punch holes on all 4 corners of the card and reinforce with eyelets.  The eyelets also serves as a decorative element.
7.                  Put the cards together with ribbon or binding rings.
 
Other gift ideas can say “HOME” or “LOVE” and will be great for names of newborn babies as well.  The possibilities are endless!
Last but not least, I have a tip that I’d like to share.  When you cut letters with the die cut; do not throw away the negatives.
 

Cut it to the shape you wish and mount it on another paper and save it for future projects.
Do drop by “K”rafers to have a closer look.  Hope you enjoyed this simple project and will bring joy to the people you give it to as well. 
Products used :
·         Coloured cardstock by KCK
·         Patterned paper by Echo Park’s This & That collection
·         Flower by Prima
·         Pearl flourish by Prima
·         Metal butterfly charm from jewellery supply store
·         Buttons by Basic Grey
·         Twine by Doodlebug
·         Diamond Stickles by Ranger
·         Ribbon coloured with Worn Lipstick Distress Ink by Tim Holtz
·         Brushed Corduroy Distress Ink by Tim Holtz
Glossy Accents for gluing and KCK foam stickers for added dimension


Friday, September 14, 2012

Weekly Inspiration By Ridz


What's your favourite project in scrapbooking?  I love making mini albums.  
 
They are my personal photo storybook.  
Following up from Roza's post last week, I have an envelope mini album to share with you. They are really easy - take an envelope (you can even upcycle your old envelopes), seal all edges and then cut off about 1cm from one edge and you get a pocket page. In each pocket you can put a tag or two or some mementos like receipts or other ephemera.  I've decorated this album with Prima's Songbird and Almanac collection.  I've used some handmade embellishments and those from Tim Holtz, Prima and Krafers as well.  Finally they are bound using the Cinch.  
 
Do drop by "K"rafers' Paradise to have a look at all the Weekly Inspiration projects.


Sunday, August 12, 2012

Weekly Inspiration by Ridzuani

Hi there,

I am Ridz and I'm honored to be the guest designer for Krafer's Paradise this week.

With Hari Raya just around the corner, Teresa Collins' Fabrication papers were the inspiration behind this double easel card. This really pretty collection showcases her designs with bright colours and lovely designs; really suitable as I find Hari Raya is a colourful festival.

As you can see, it folds flat so that it will be easy to mail out and when opened up, the card will stand up to showcase your design. The sentiments were easily printed on cardstock with the computer and then cut to size with die cuts machine. An area for writing a message is there too. With the addition of some blings, Prima flowers and a handmade flower, the receiver will be proud to display this in her home.

I hope this will inspire you to make a card for your friends and families for the upcoming festive season. I'm sure they will appreciate this personal gesture. I would like to take this opportunity to wish all our Muslim readers a very happy Hari Raya.

Products used :
Teresa Collins' Fabrications paper, Teresa Collins' Fabrication stickers, Prima Bling,
Prima Flowers & KCK Rhinestones.