Pages

Saturday, March 23, 2013

Weekly Inspiration By Roza
 
Hi scrappers....don't you just love weddings??

The happy bride & groom,all the yummy food & a burst of colourful decor!

Had mine some 18yrs back & I sure had tonnes of memorable photos.One too many albums so I decided to take some of my favourites & create an accordian file to store my priceless moments.

Materials used:
6pcs of 6 1/4" X 9" envelopes(cut off about 1/2" on top)
Webster pages papers
Peel off stickers
Prima say it in pearls
Doilies
Prima ribbon embellishment
Pearls & gems
Tim Holtz ideology ornate plate


I started out by glueing the 6 envelopes together on all 3 sides leaving the top free for photo mat slotting.

Distress all corners of envelopes.
Front & back envelopes need to be glued completely,then past on patterned paper.


Once the accordian file has taken shape,cut off a piece to act as a cover for your file & add embellishments.I basically added say it with pearls & a small doily & left the gorgeous paper as is...once I got all my embellishments on,I then decoupaged the cover just to give it a good shine.Place a magnet underneath the cover for closure.
I placed an ornate plate bearing the year I got married on back of file. 

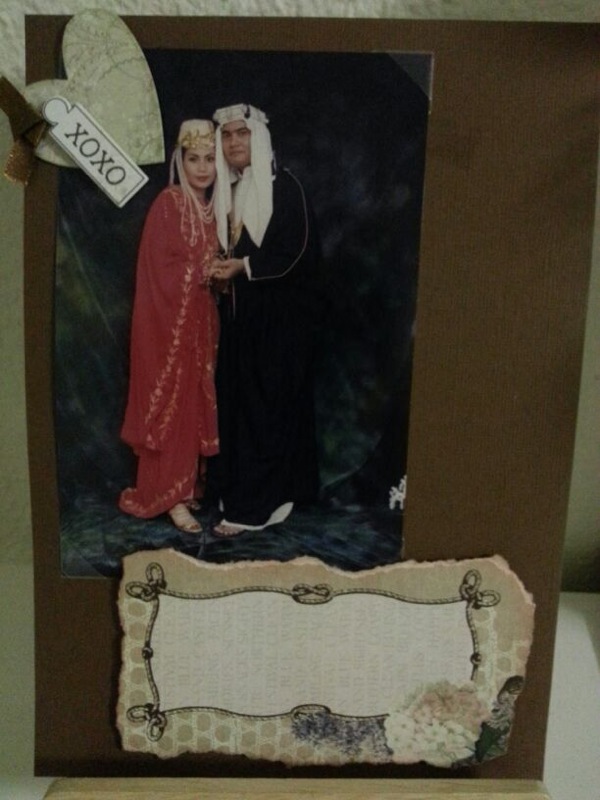
There are 4 photo mats for pictures & 2 slots left intentionally empty for some of my favourite love letters & cards.
I had cut out some of the little butterflies,cake prints from my paper stash & added some pearls to give it a glow.
This is a really quick & simple project.Try it out & have fun!!Till next month,happy scrapping!


Sunday, March 17, 2013

Weekly Inspiration By Dewi
 
Hello there!
Weddings are always a joyous occasion and as crafters, I am sure you itch to play a part in it. Well, for this week, I have gathered some ideas for a guest book set-up. Here goes:
I simply love Websters!
In this project there is actually a bit of coordination and foresight. A lot of the papers were mainly used in the guest book itself. The board, however, needed a bit of scraps from your last projects ( a good opportunity to used your leftovers and nic-nacs!)
Since the guests will be penning down their well wishes, I thought it is more sentimental if they were to do it the more traditional way… through letters. Thus the mini envelopes.

The guest book has the idea flowing in it too.

The cream flaps that you see will have Instax photographs pasted under them and so the flaps act as a protector AND doubles as spaces for the guests to pen down their wishes. Saves a lot of papers and cost, I tell you! Hehehe!

Ok so much for technical stuffs, I will end off with a pictorial summary of this week’s project. I hope this week’s project has inspired you.  Till next month then, keep on crafting!


Dew!


Sunday, March 10, 2013

Weekly Inspiration By Ridz
 
He’s proposed and you’ve said yes and now it’s a whirlwind of planning.  What could be important (other than THE dress) than to ask your best girlfriends to be your bridesmaids.  This week I’d like to share with you a Will-You-Be-My-Bridesmaid gift.
It’s a simple box that I made but with a slight twist :
First you present her with this question.  (I’ve purposefully made the tag bigger than the box to make sure the question is not lost)
Then she opens up the box and finds a box of Hershey’s Kisses in two flavours.
Then she’ll piece the “puzzle” under the Kisses to the question “Will you be please be my bridesmaid?”  Of which I’m sure she’ll say yes because she’s been asked in such a sweet and cute way!
After that both of you can play tic-tac-toe on the box!
 
You can vary the size of the box by changing some of the dimensions.  The box on the right is 4x2.5 inch and is 3 inches high.
Hope you enjoyed this project and that it will give you other ideas on what you can do with the humble handmade box.
The papers I’ve used are from the Webster Pages Everyday Poetry collection.  Check them out at Krafers Paradise soon!