Weekly Inspiration By Alice
Hi,
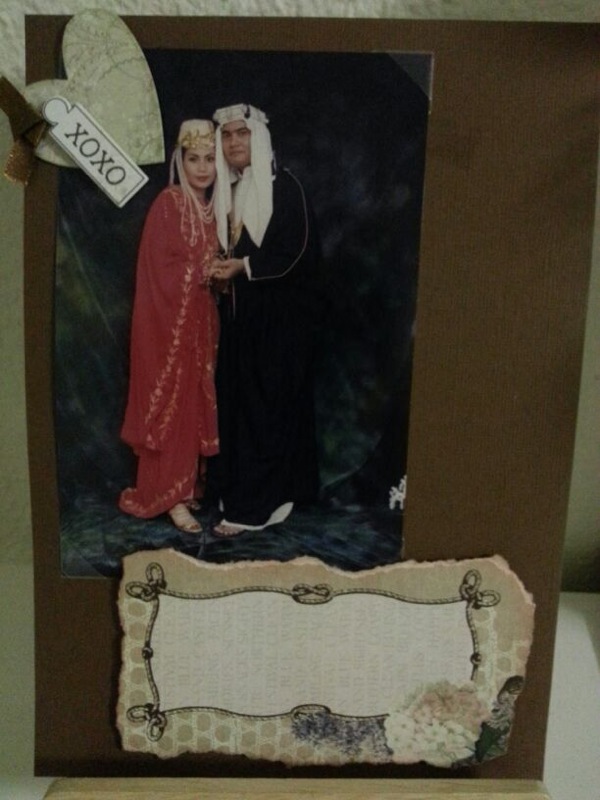
today I
would like to share with you a few wedding cards for the special occasions. These cards can be sued as an invitation card
or Congratulating the couple for the joyous occasion.
Material
used for this card – red color card stock, patterned vellum paper, ribbon, “Xi”
rubber stamp, glitter glue and small rectangle buckle. Card size: 18cm x
13cm.
“Xi” is stamped
on a pink color cardstock and colored the flowers using colored pencils. Apply
the glitter glue onto the word and cut out the image. Used foam double sided tape and stick to the
right side of the card. This can be used as an invitation card or a Congratulating
card.
Parchment Wedding Cards
These two
cards are made from parchment vellum paper with peach color crayons colored on
the vellum and lavender essentials oil are applied for fragrance. Flowers are
traced with white ink and embossed. Tie a small bow onto the card as shown.
Another
parchment card to share, the background with lace like and the doves are
separate piece of work. Doves are traced with white ink, embossed, cut out and
stick on the background. I have used wordings stickers on it.
Hope you
like the cards today and wishing everyone a good week ahead.
If you are
keen to learn how to make this card, do drop off your contacts at the counter
and will get in touch with you soon.


.jpg)
.jpg)


.JPG)
.JPG)
.JPG)
.JPG)


